Paper lantern
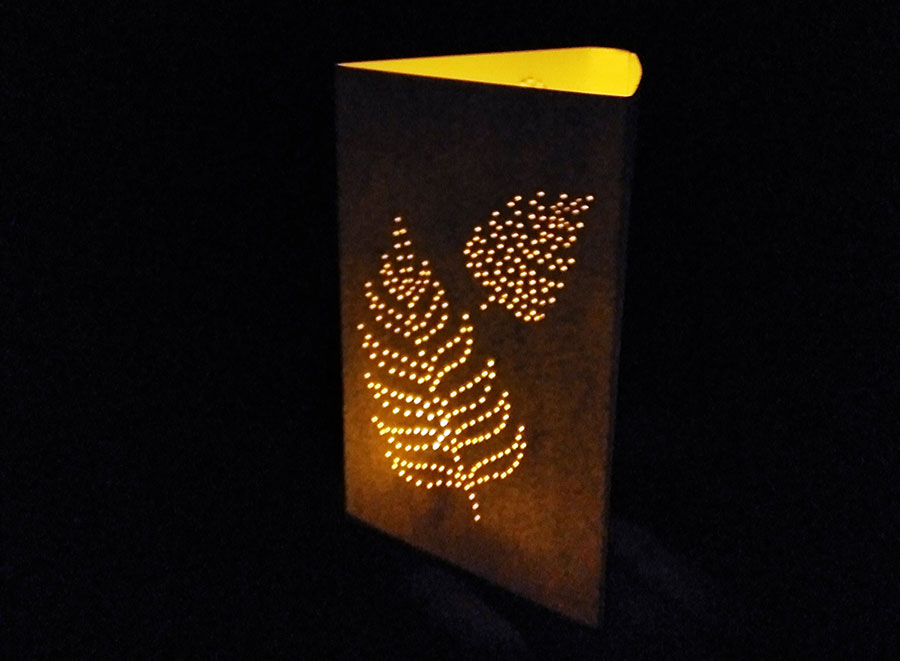
These stunning paper lanterns are fairly simple but very effective. Used with LED battery-operated tea lights, they can enhance your room, or make lovely personal gifts for a friend or loved one.
What you need:
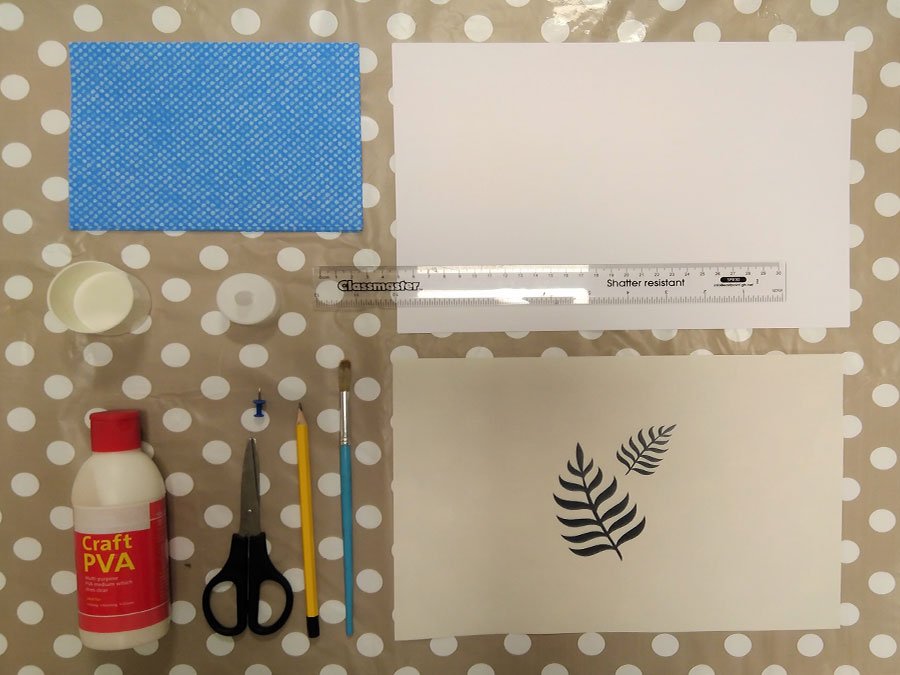
- White card (x2 A4 sheets)
- Scissors
- Push pin
- Pencil
- Ruler
- Vector leaf template designs (printed) If you do not have a printer you can design your own shape
- LED tea light (do not use real candles as they are likely to cause a fire!)
- PVA glue
- Glue brush/applicator
- Glue pot
- Small pile of clean and dry jay or microfibre cloths (or similar)
- masking tape (optional)
Instructions:
Step 1
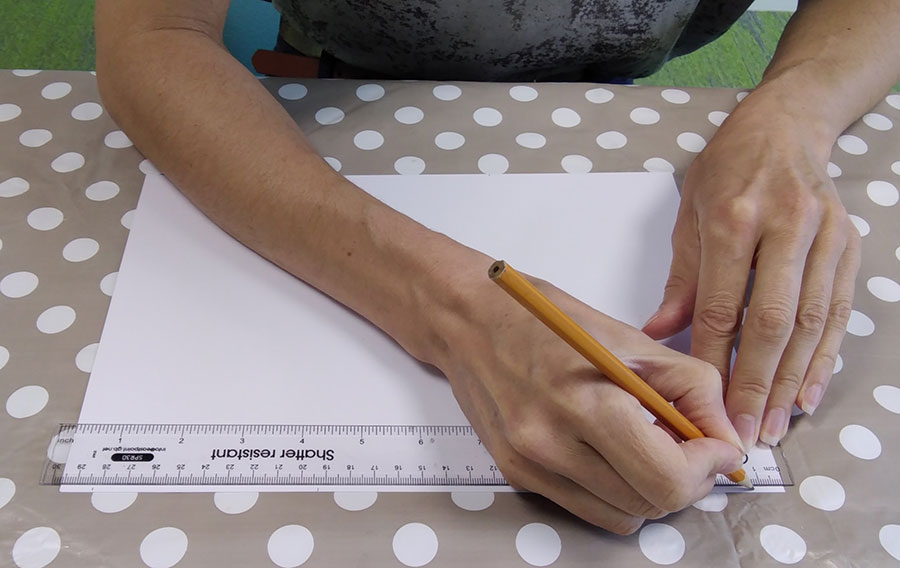
Place the white card in front of you in landscape orientation. Using the ruler and pencil, make small pencil marks across the top edge of the card at 13mm, 90mm, 90mm, and 90mm (which should leave a final measurement of 13mm). Similarly down the side at 145mm and 160mm (which should leave a final measurement of 50mm). Do the same on the opposite sides.
Step 2
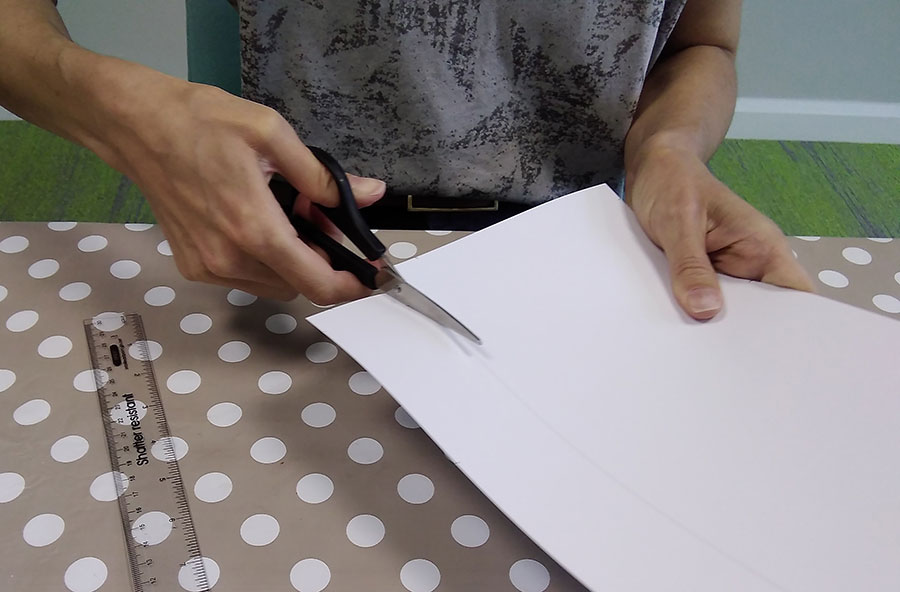
Using a pencil, draw a line horizontally between the 160mm pencil marks. Using scissors, cut along that line (this is the size of the lantern in the example but you could make yours taller or shorter if you prefer).
Step 3
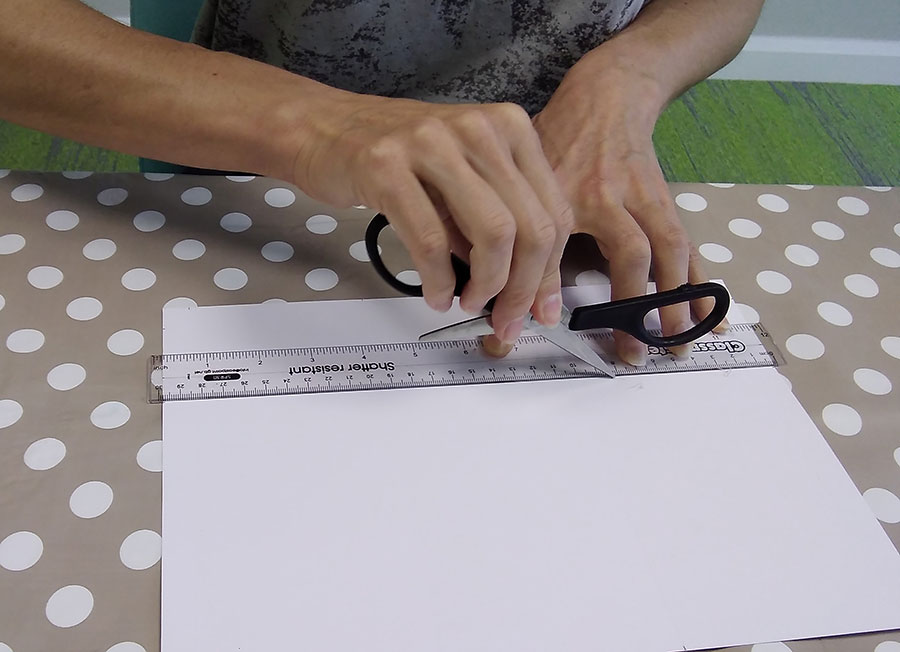
Using scissors, score lines vertically between each of the two marks top to bottom and then similarly score a line connecting the horizontal marks. Fold the card along the score lines inwardly (the scoring technique is not crucial but will make it easier to fold the card).
Step 4
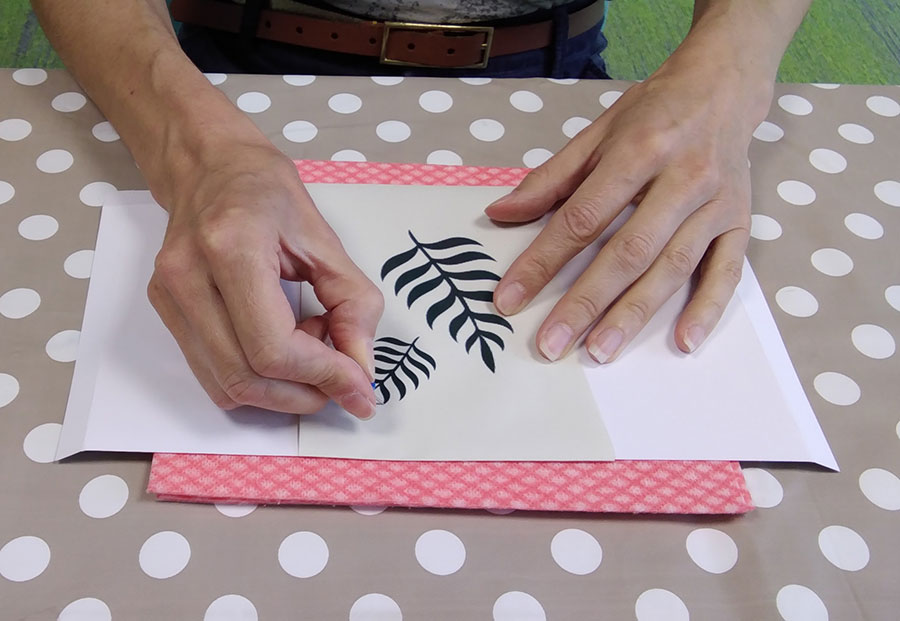
Open up the card so it's flat, turn it over, and place it in front of you in landscape orientation. Place the piece of paper with the vector leaf design on top of the white card making sure that the design fits nicely in each of the 3 panels (you can decide exactly where you want them to go), then secure design in place (either fold some of the paper over the top of the card or use masking tape to secure). Place the clean, dry cloths underneath both the card and the paper as they will protect your hands and the table when using the push pin as well as making it easier to pierce small holes in the card.
Step 5
Using the push pin, make small pin holes following the design on the paper (apply enough pressure to push all the way through both the paper on top as well as the white card underneath). Follow the design, making as many holes as you like, ensuring they are at least 2mm apart so that you don't create bigger holes (unless that is your intention). (Tip: I used blue tac moulded around the plastic pin top to make it a bit more comfortable to hold.)
Step 6
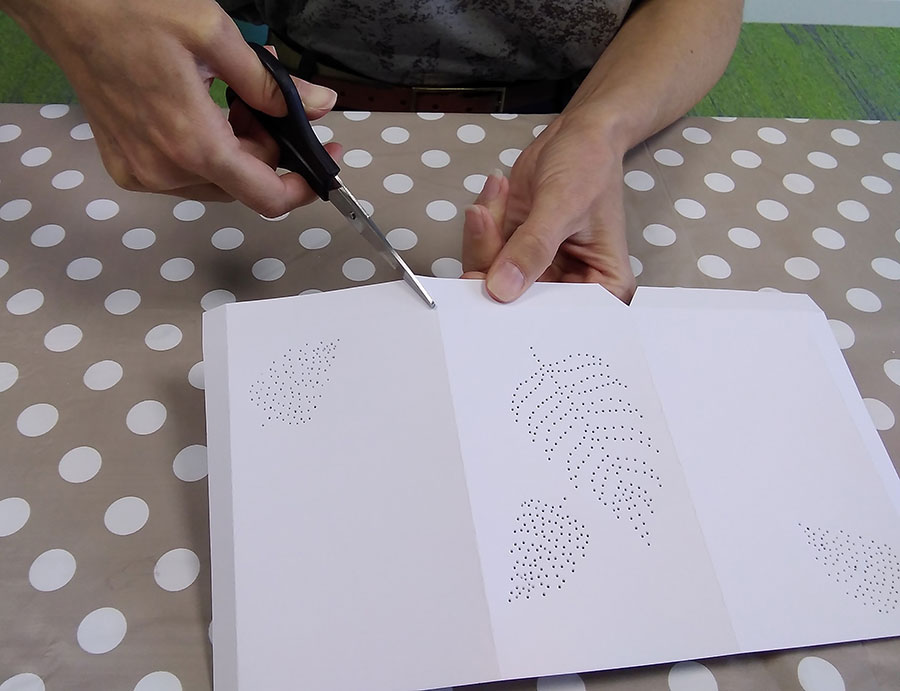
Once you're happy with your design, cut 2 small triangular shapes from the bottom edge up to where where the 2 central vertical folds meet the horizontal fold. On one side, cut the corner off from the horizontal fold to the bottom edge at a 45 degree angle (13mm x 15mm). On the opposite side, cut the whole corner off from the horizontal fold (a little square piece 13mm x 15mm).
Step 7
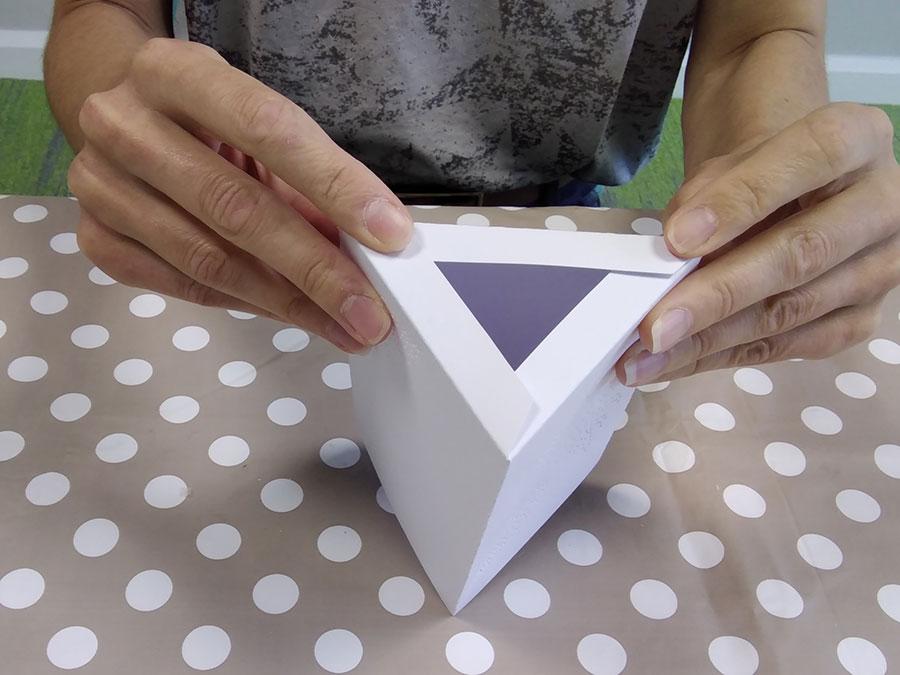
Fold the card into the triangular prism shape. Fold the tabs in on the long edge and glue together. Turn the lantern upside down and glue the tabs down.
Step 8
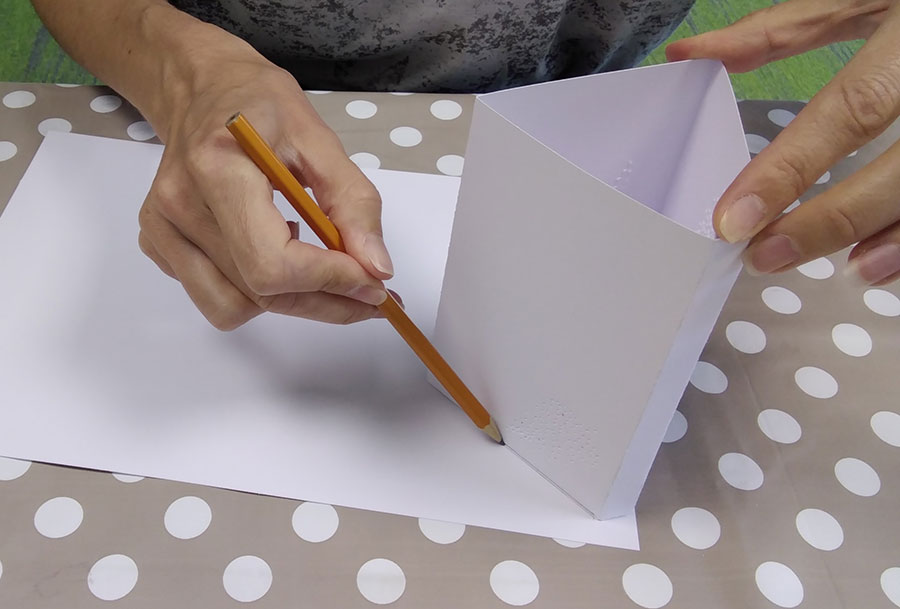
Place the lantern vertically on top of the second sheet of card and draw round the triangular base using a pencil. Repeat this so that you have 2 triangle shapes drawn on the second sheet of card. Using your scissors, cut these triangles out making sure you cut inside of the pencil lines so that the 2 card triangles are slightly smaller than the base of your lantern.
Step 9
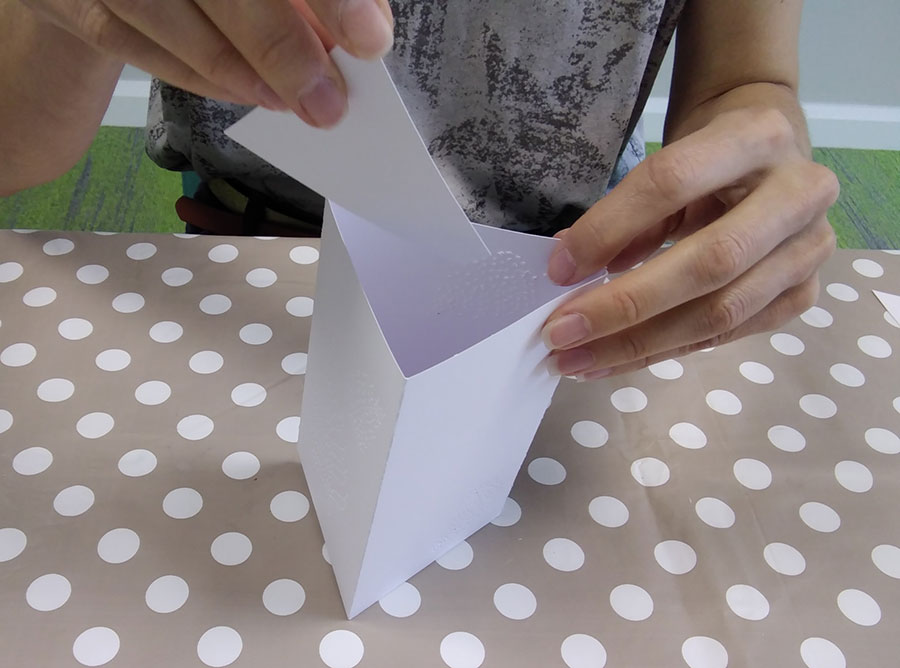
Take one of the card triangles and push it down inside the lantern to form the inside base of the lantern. Glue the other card triangle to the base on the outside to cover the tabs to make it more stable and give it a neat finish.
Step 10
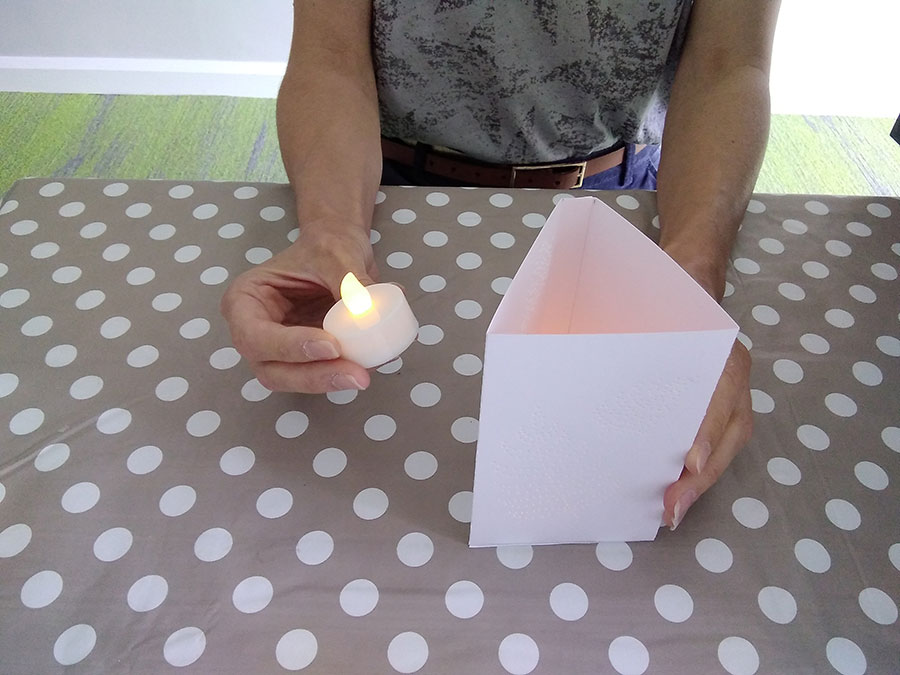
All that's left to do is wait until evening time, place your LED tea light inside the lantern, turn the lights off, and enjoy the soothing flickering light radiating through your beautiful handmade lantern. (Top tip: if you want the light to be brighter, then you can punch several designs into the card and even use 2 or 3 LED tea lights depending on their strength).
The Arts in Health team relies on the goodwill of our dedicated team of volunteers. We also regularly work with professional artists and musicians on a variety of creative projects across the Trust.
