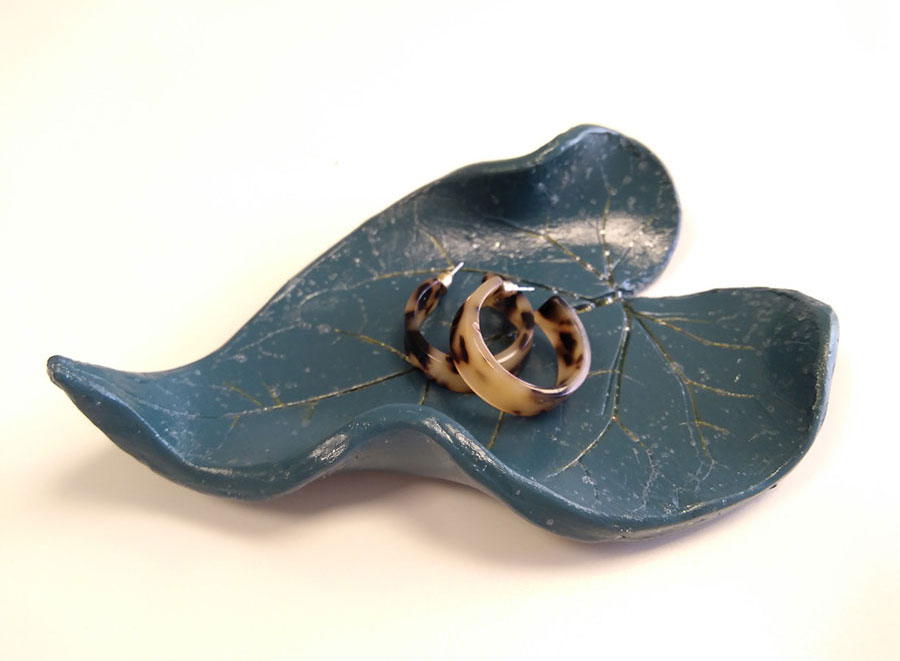
Leaf trinket dish
You don't have to have a pottery studio to create something beautiful out of clay – with air-dried clay readily available and reasonably-priced in most craft stores (look out for when it's on offer!), you can really enjoy the experience of working with clay and making some fabulous things.
Here we've demonstrated how you can use a simple, readily available item such as a leaf to create stunning patterns in the clay. Why not experiment making different patterns using things you can find outside or lying around the house. The good thing is, if you don't like the print you've made you can always squash the ball of clay and roll it out again!
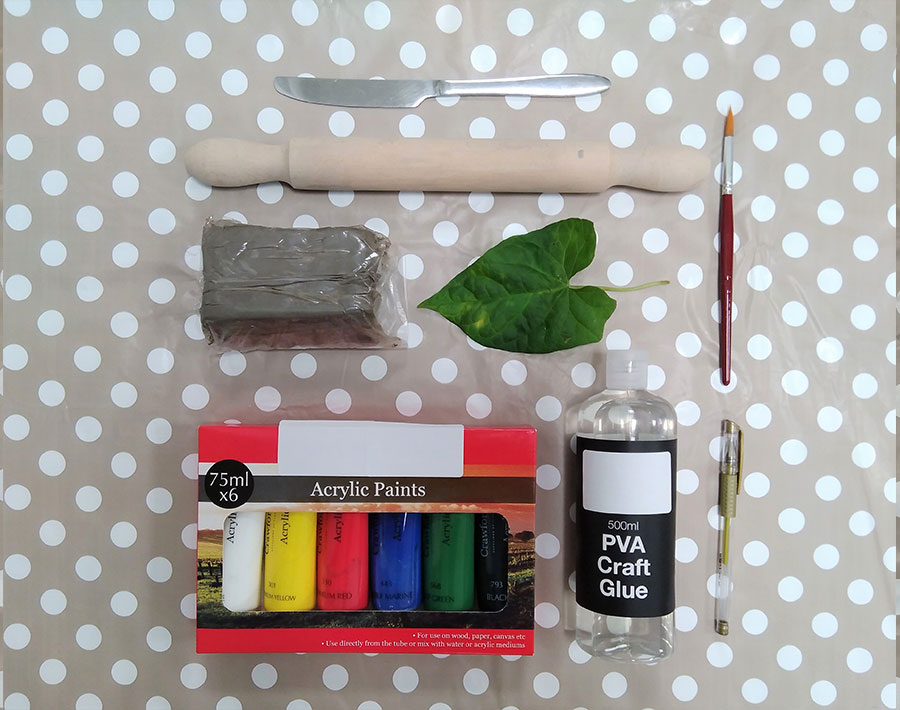
What you need:
- Air-drying clay
- Butter knife
- Rolling pin
- A big leaf or something else to print clay. (Tip: choose a pretty-shaped leaf that has an interesting and pronounced vein structure)
- Acrylic paint
- Paint brush
- PVA glue (optional)
- Metallic pen (optional)
Instructions:
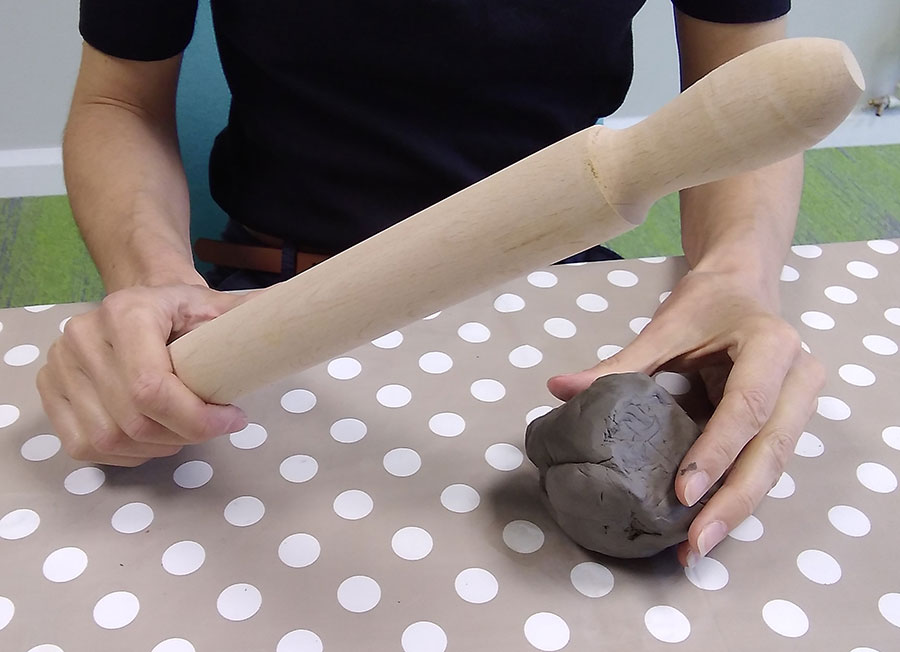
Step 1
Take a lump of clay (I used roughly 200mm x 200mm x 200mm) and squeeze it in your hands into a ball.
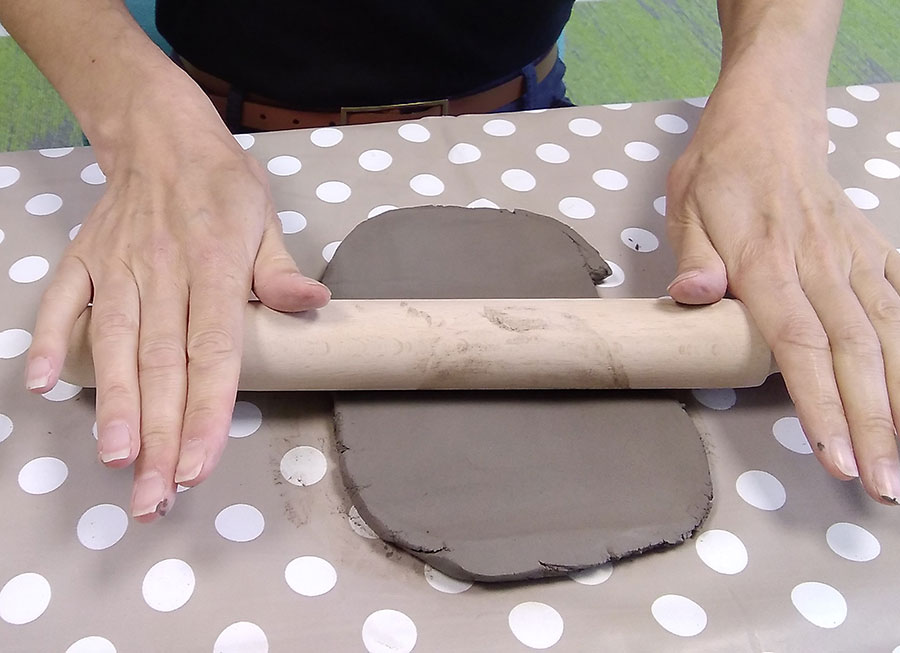
Step 2
Using your rolling pin, roll out the clay flat. Keep turning the clay 90 degrees after a couple of rolls (like you were rolling out pastry!). Roll the clay until it is approximately 5 – 10mm thick.
Step 3
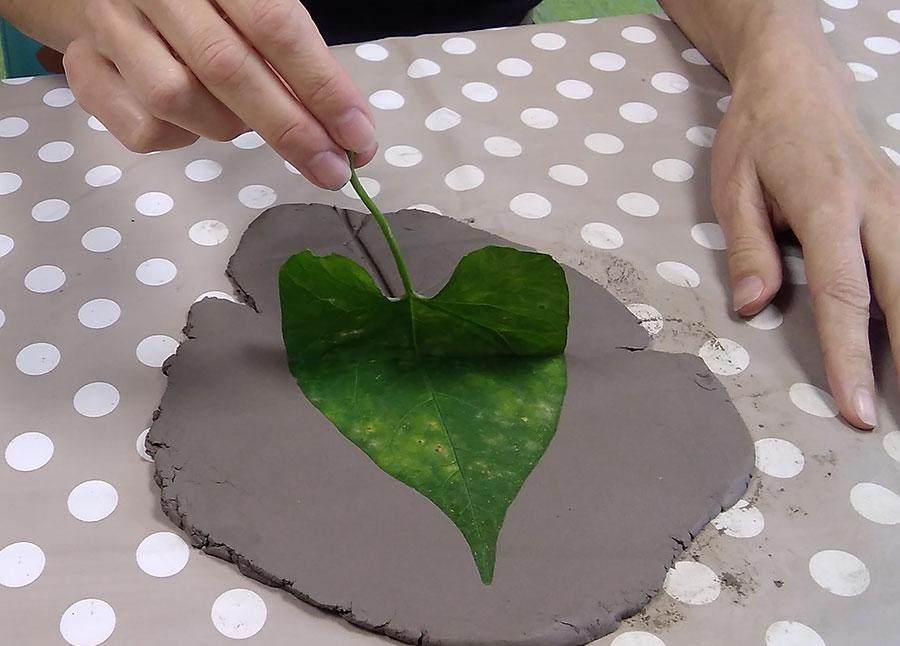
Place the leaf flat on top of the clay (with the raised veins facing downwards) and using the rolling pin, roll across the leaf several times pressing down slightly. Then carefully peel the leaf off the clay being careful not to damage the print you have created. You should be able to see all the veins imprinted in the clay.
Step 4
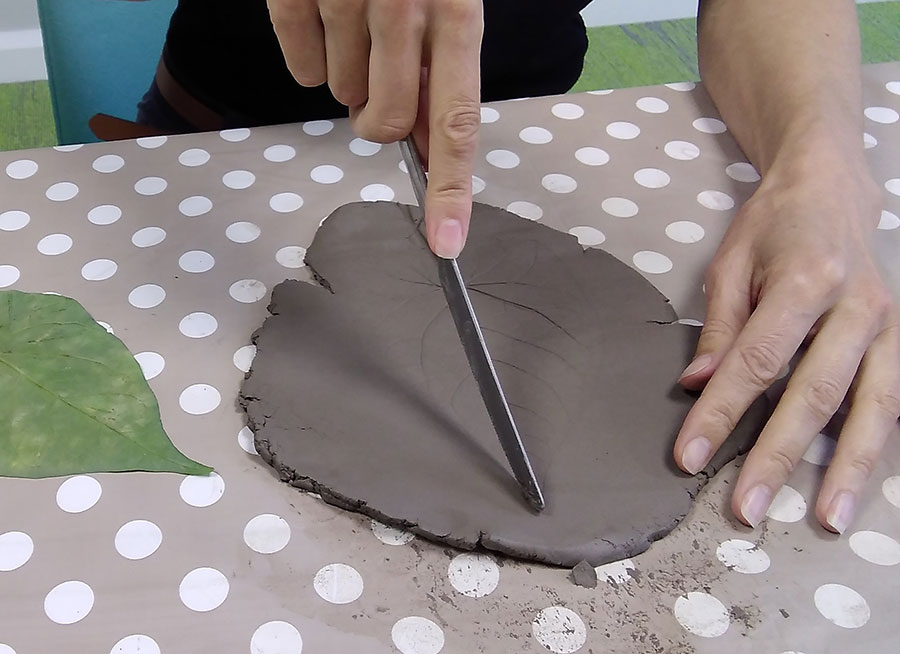
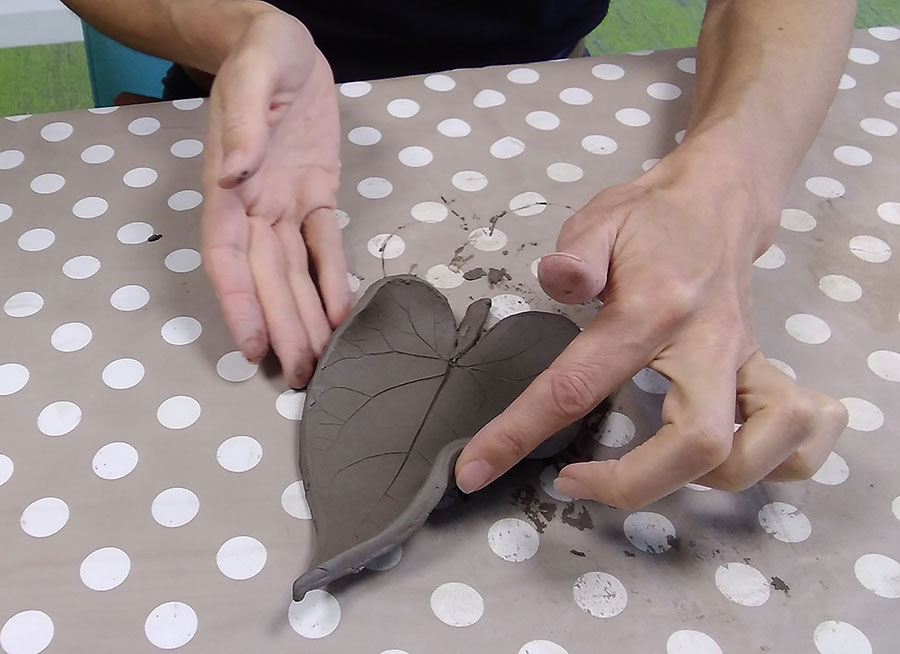
Take your butter knife and carefully mark an indented line around the perimeter of the leaf print. Then go around again following that line but this time cutting all the way through the clay.
Step 5
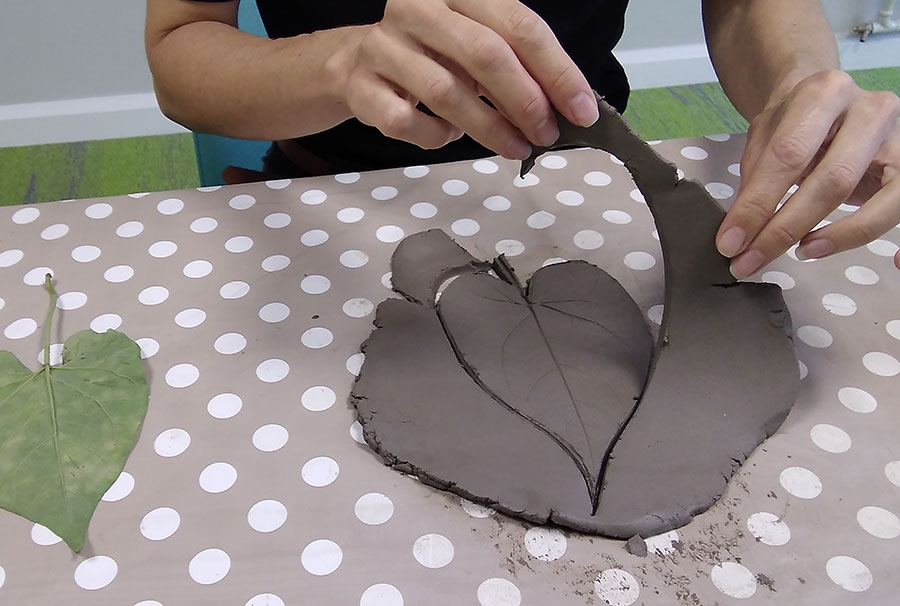
Remove the excess clay just leaving the clay leaf in front of you.
Step 6
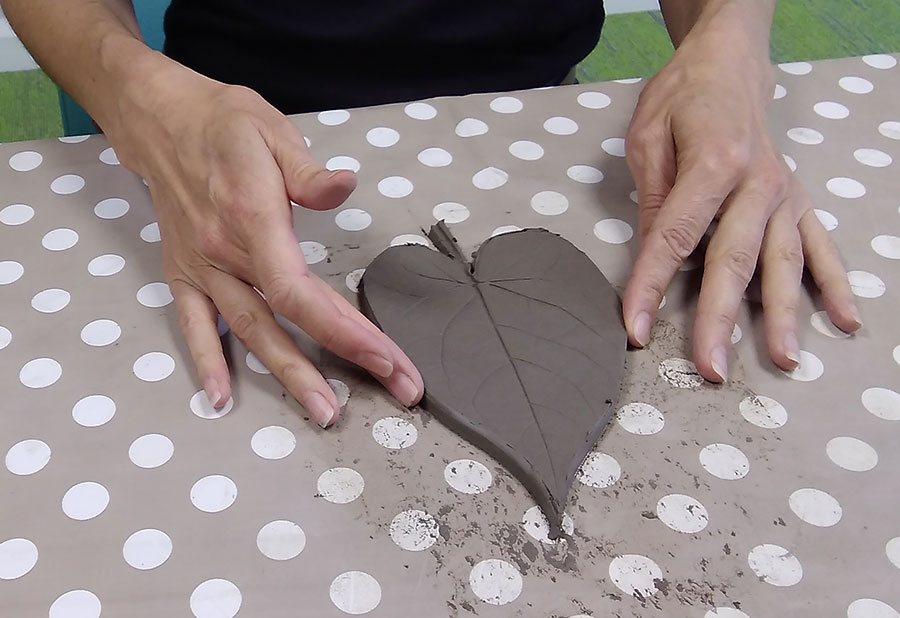
Using your fingers, gently blend the edges to remove any rough parts and give it a smooth finish.
Step 7
To add interest to your trinket dish and help it hold items, very gently and carefully fold up edges of the leaf. Use your creativity to give it a 'leaf blowing in the breeze' look.
Step 8
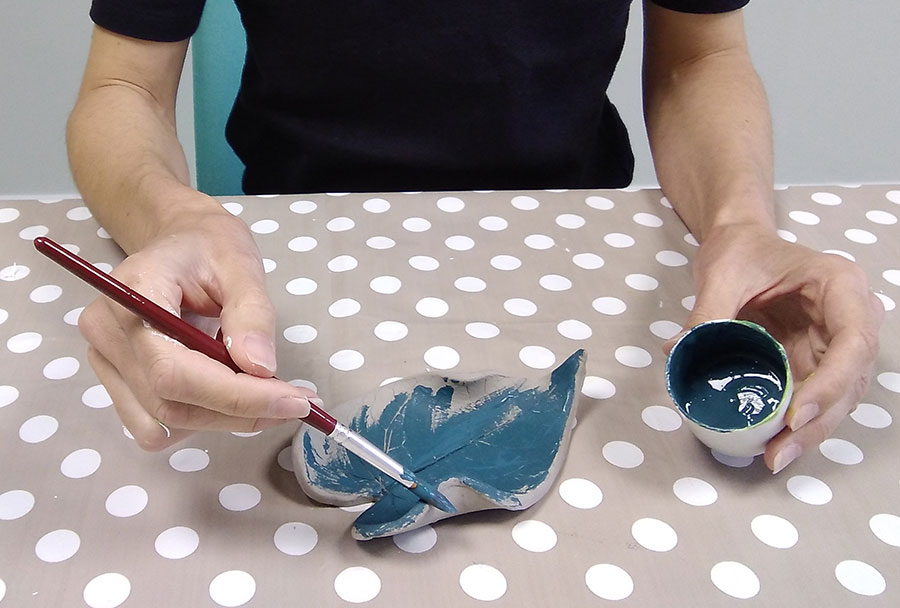
Leave your dish to dry somewhere safe for 24 – 48 hours. Once completely dry, you can paint it whatever colour takes your fancy and compliments the colour scheme in your room. I mixed a deep green colour using acrylic paints and used it all over the leaf (on both sides). Metallic colours would also work well or have a go with an autumnal colour palette to create that 'fallen leaf' effect.
Step 9
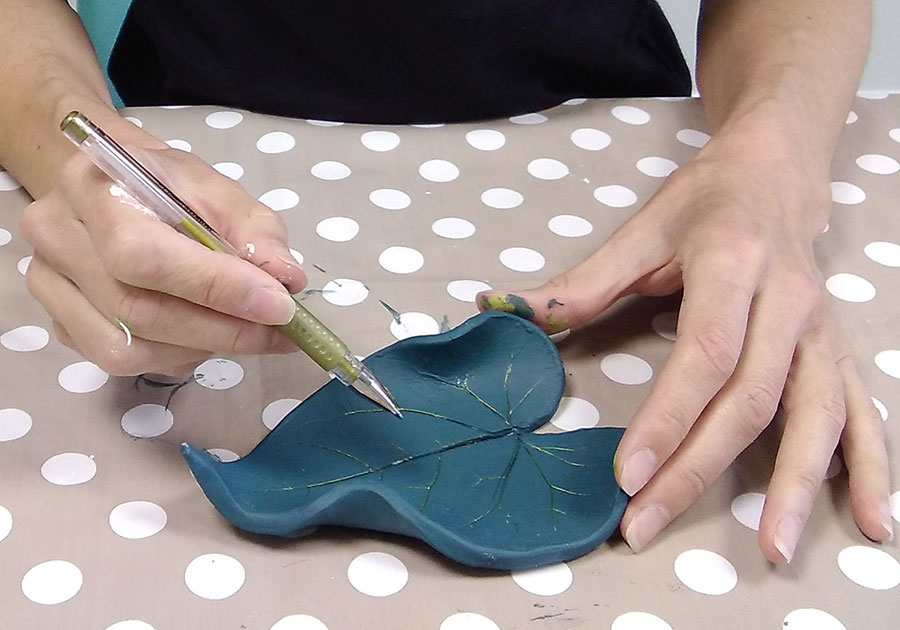
Once the paint was dry, I used a gold pen to emphasise the vein patterns.
Step 10
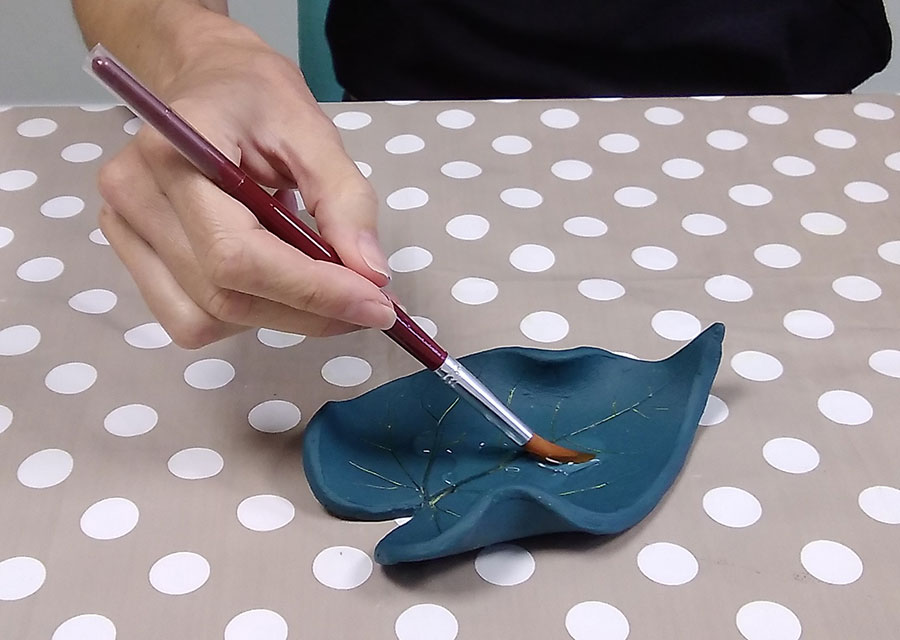
And finally, the leaf can be painted with PVA glue and left to dry to give it a nice sheen and an added layer of protection. I used a clear PVA but white PVA dries clear so works just as well. I noticed that the glue left small bubbles, which I thought made a nice rainwater droplet effect. Leave to dry overnight. Your lovely leaf trinket dish is now finished and can be used as a pretty tea light holder or for your jewellery as show here.
Please note, PVA glue is water soluble so the dish will not be waterproof.
More creative ideas
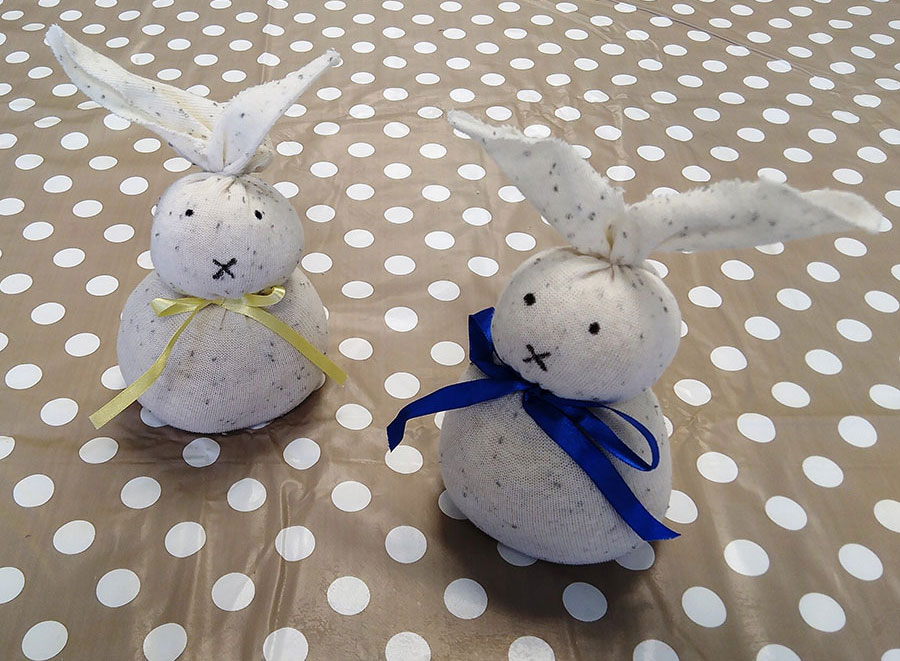
Sock bunny
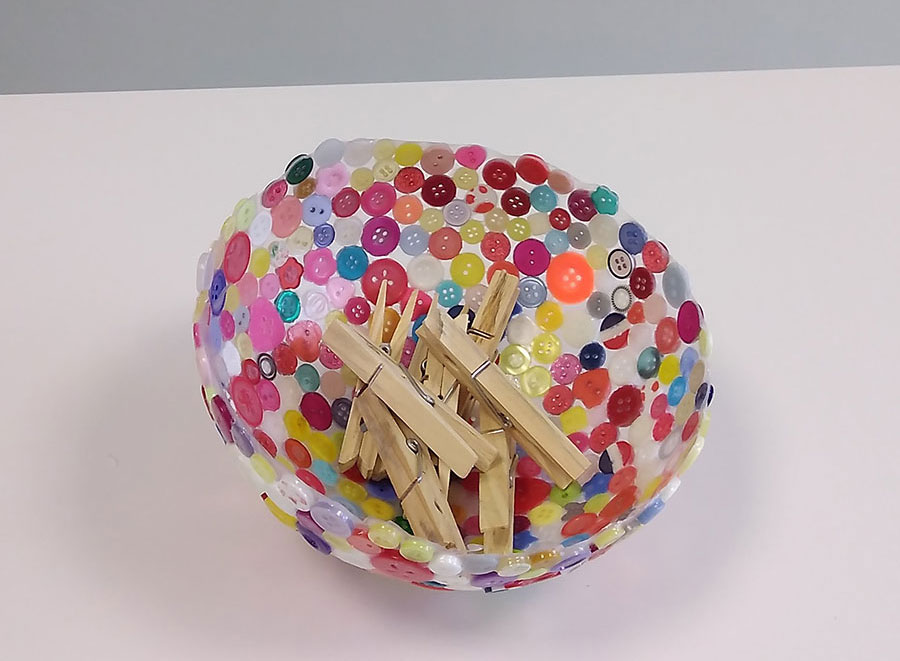
Button bowl
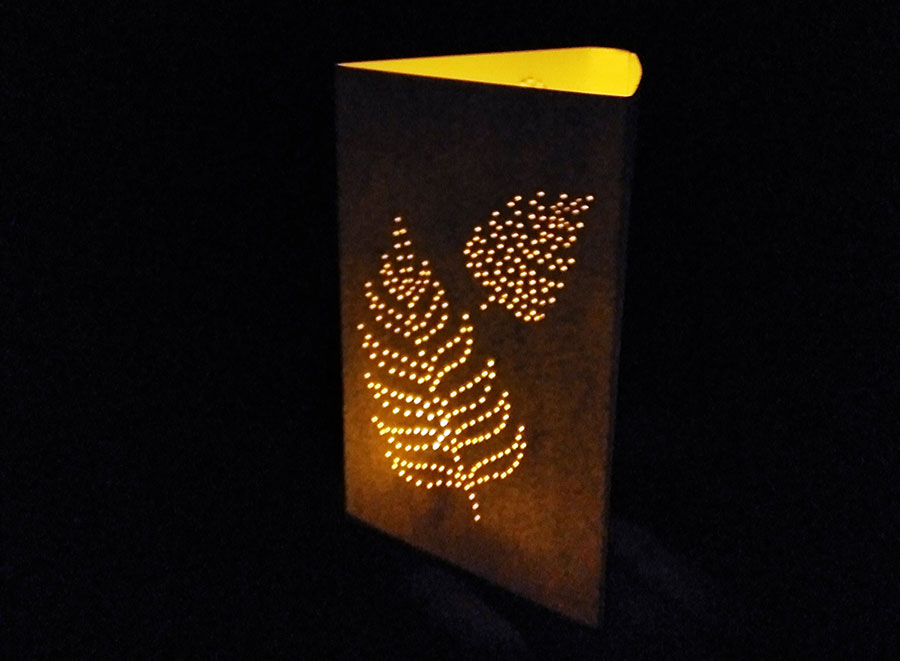
Paper lantern
The Arts in Health team relies on the goodwill of our dedicated team of volunteers. We also regularly work with professional artists and musicians on a variety of creative projects across the Trust.